This article describes the first steps to disassemble a Yashinon Auto DS 50/1.9 for a reversible modification. Lack of proper screw drivers makes that this article is incomplete but it might be a step in the right direction for those that like to attempt the modification.
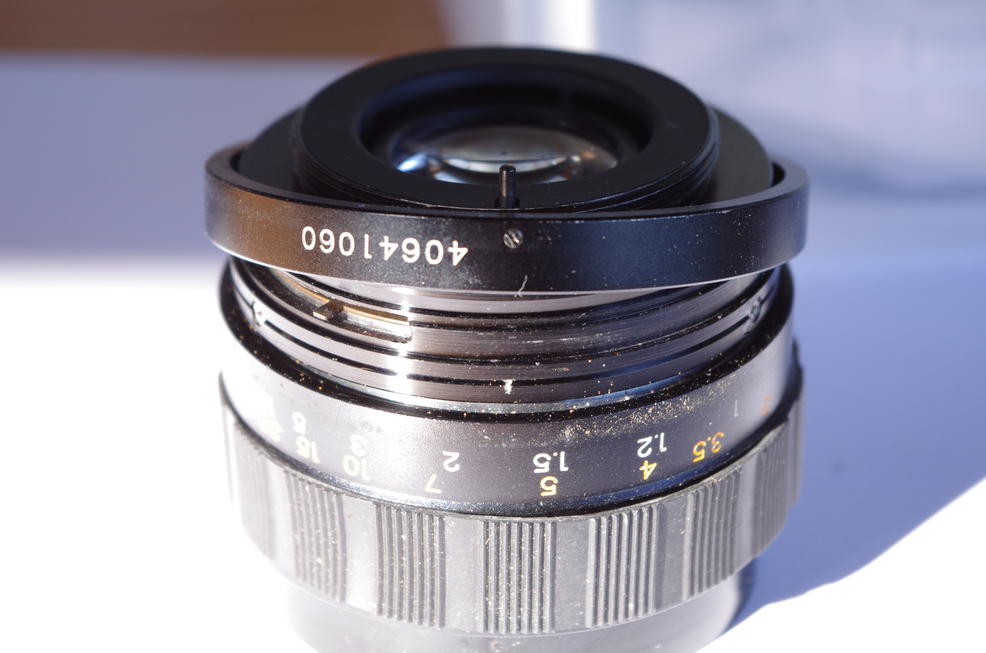
The complete lens with approximate position of one of the screws that needs to be removed (at the 5.6 mark). There are three screws like this.
Loosen those three screws (half to one turn each); do NOT remove those screws completely as you will have a hard time getting them back in. Carefully lift the ring; you will not have much grip on it but it will come off.
WARNING: there is a little ball (1.5mm diameter) for the aperture click stops under this ring. It might or might not stick to the ring but you can easily loose it ! This nearly happened to me.
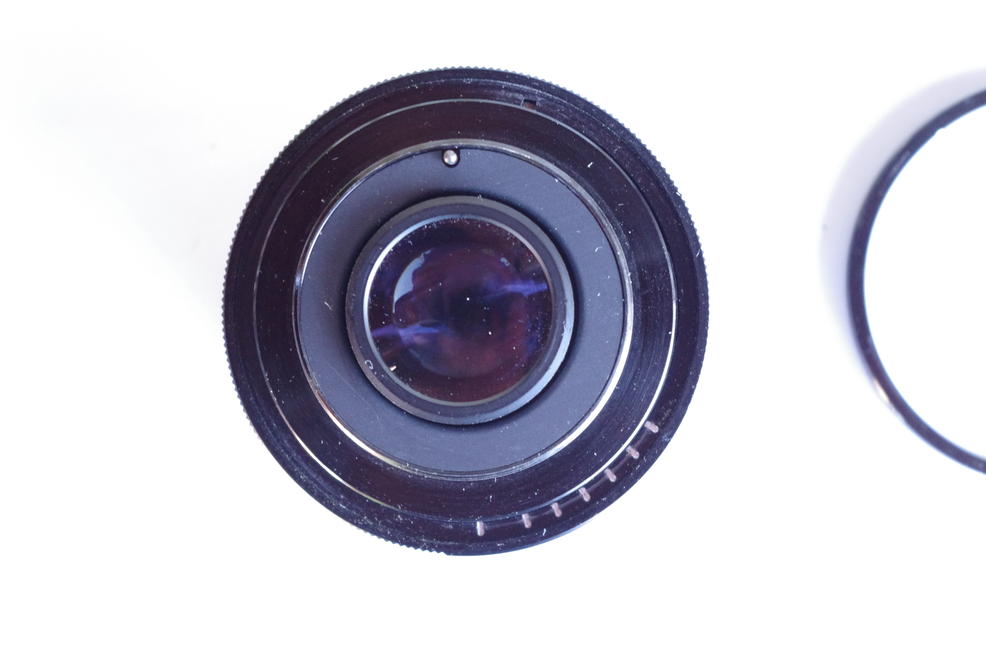
After the lifting, this is what you see. The grooves are the click stops of the aperture.
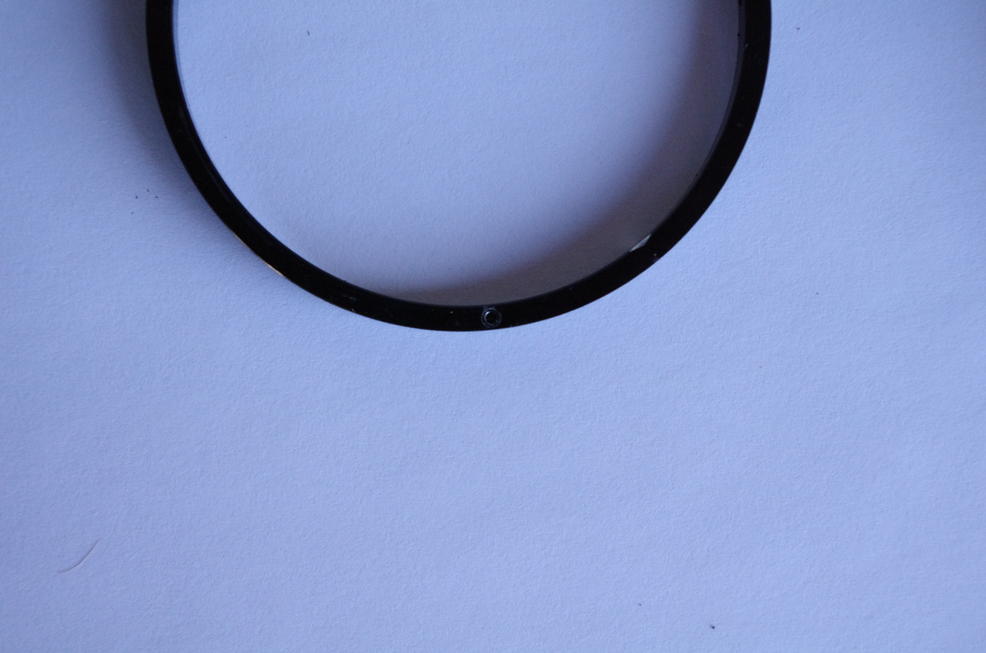
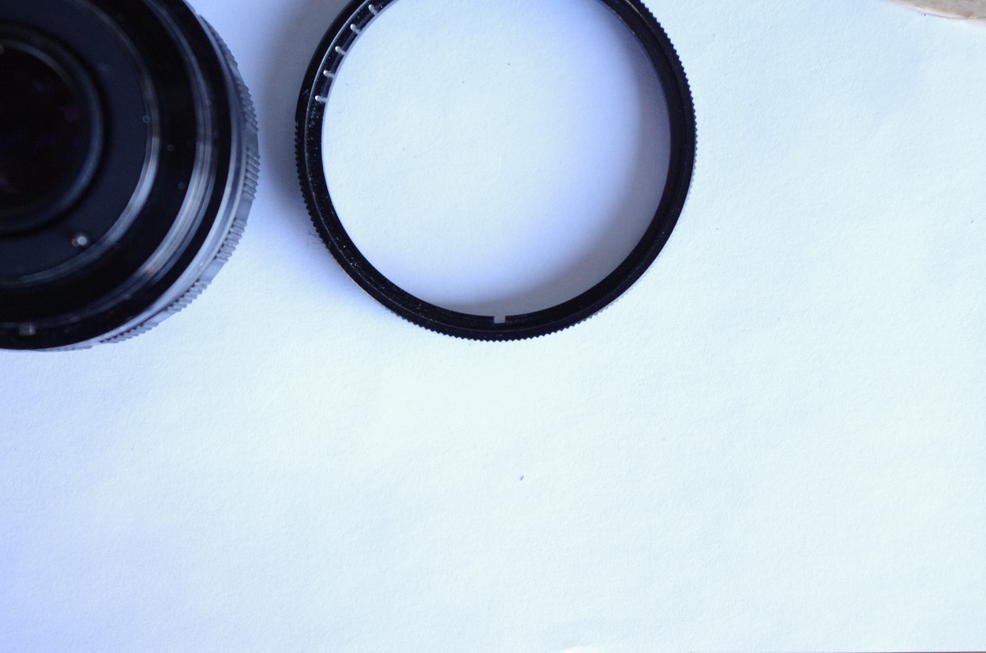
The ring that we just removed and flipped over; the small hole holds the ball in position.
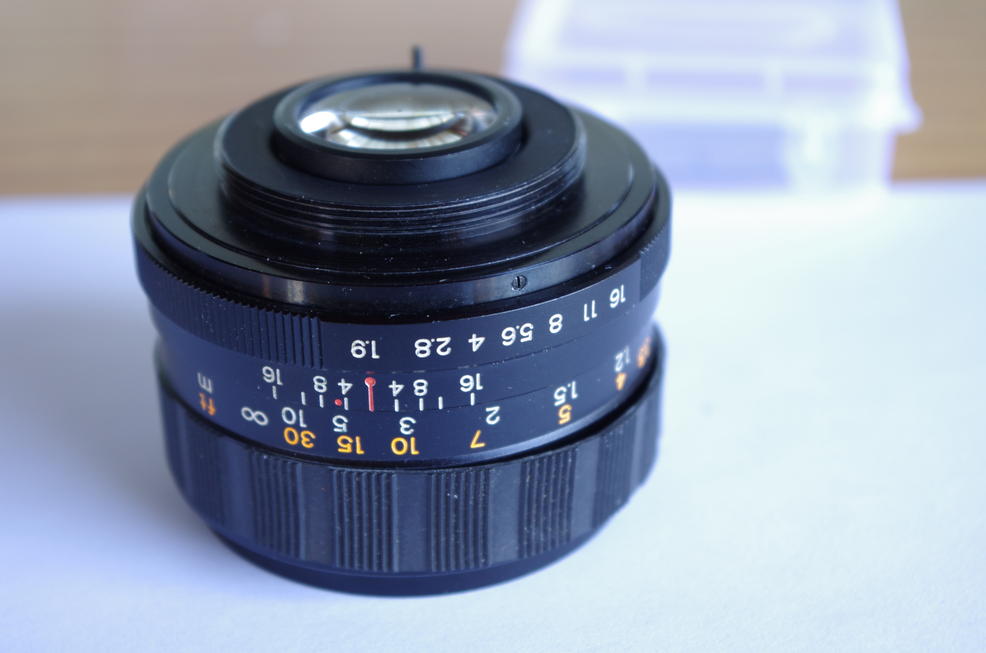
We can now lift the aperture ring of. After removing the aperture ring, we can see the 'internal' setting aperture lever (above the '6' of the serial number) that sets the aperture when one turns the aperture ring. At the right hand side of the serial number, one of the next three screws that needs to be loosened (again about half to one turn).
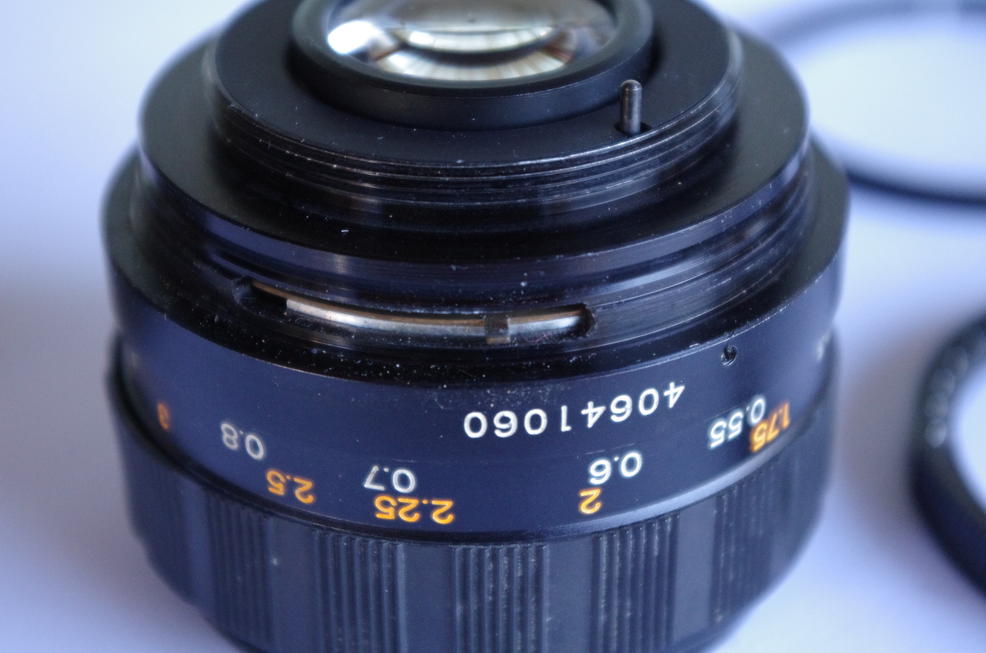
The aperture ring has a little notch; the 'internal' aperture setting lever fits in here.
After loosening the three screws on the ring with the serial number, it can be lifted; I did put it back on skew for the photo so approximate positions can be seen.. At the 4 o'clock and 8 o'clock position (above the distance ring) we can see two of the three screws that probably need to be loosened or removed to get further. Unfortunately I don't have the correct screw drivers for this :-(